Hei siellä!
Pientä eloa tännekin reseptin muodossa. Minulta on kyselty useampaan kertaan näiden suolaisten korvapuustien ohjetta, kun olen tehnyt niitä tarjottavaksi, joten ajattelin tallentaa reseptin tänne luettavaksi. Alkuperäinen resepti on Benjamina Ebuehin, kuten suurin osa lempiresepteistäni, mutta muutin tätä hieman sopimaan suomalaisen ruokakaupan ainesosatarjontaan. Alun perin reseptissä oli Marmite-levitettä ja Comté-juustoa, joita ei kyllä ihan joka kaupasta täällä pohjolassa saa, mutta gruyére ja misotahna pääsevät varmasti aika lähelle tarkoitettua makumaailmaa. Benjiltä on muuten tässä kuussa ilmestymässä uusi kirja ’I’ll Bring Dessert’ jota odotan jo innolla!
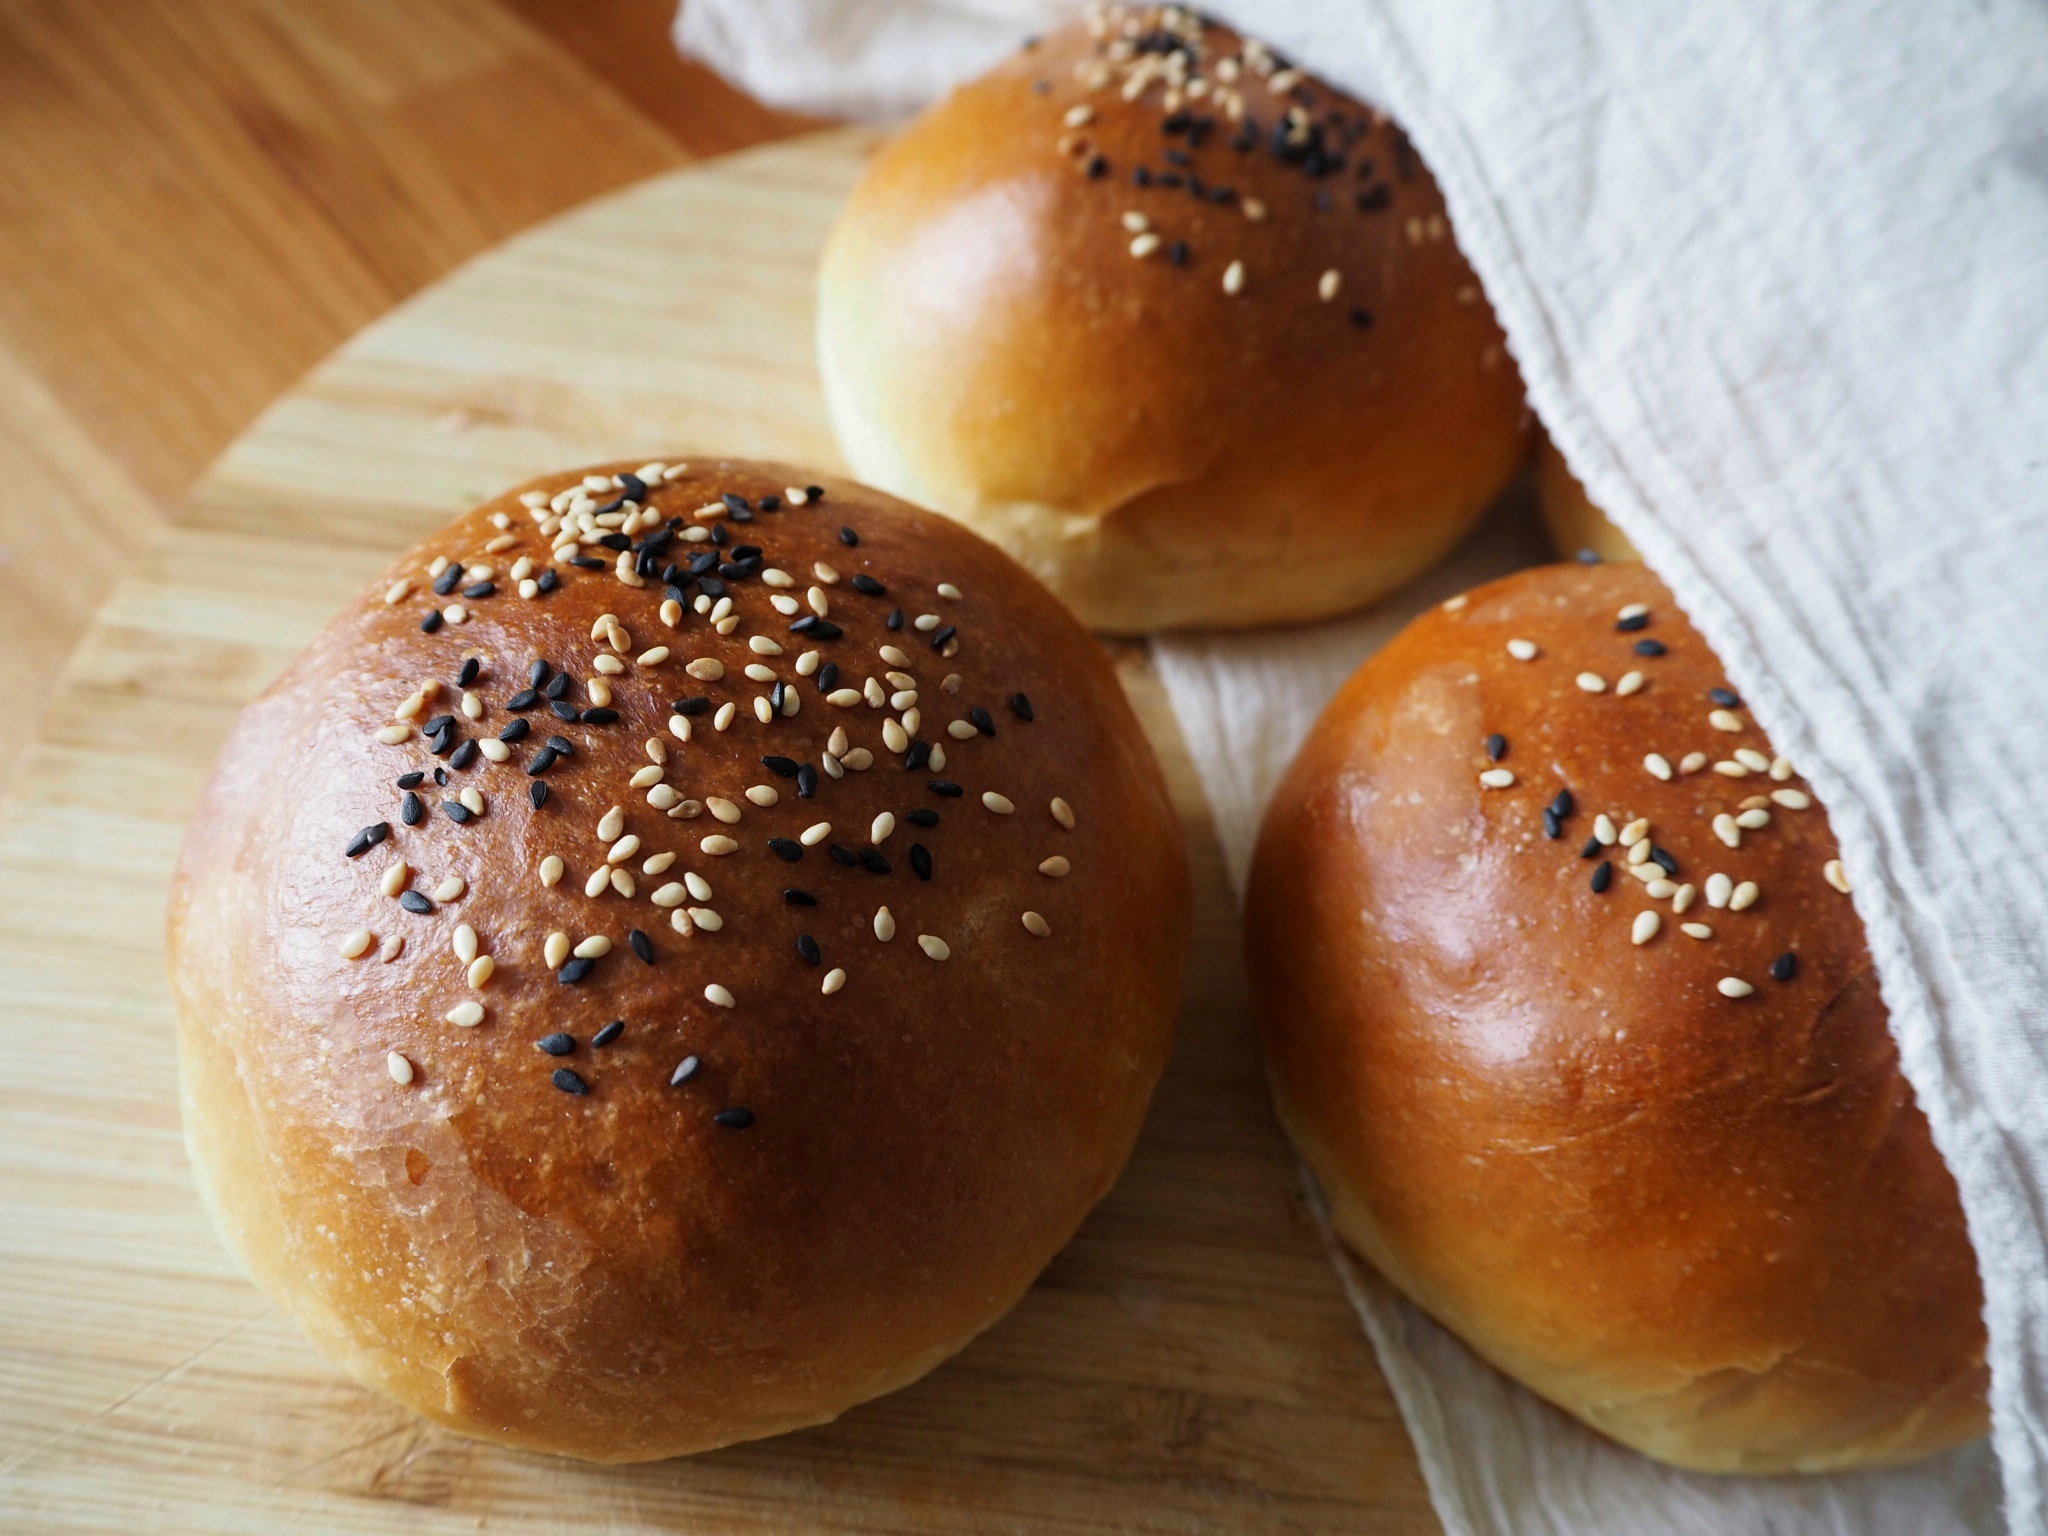
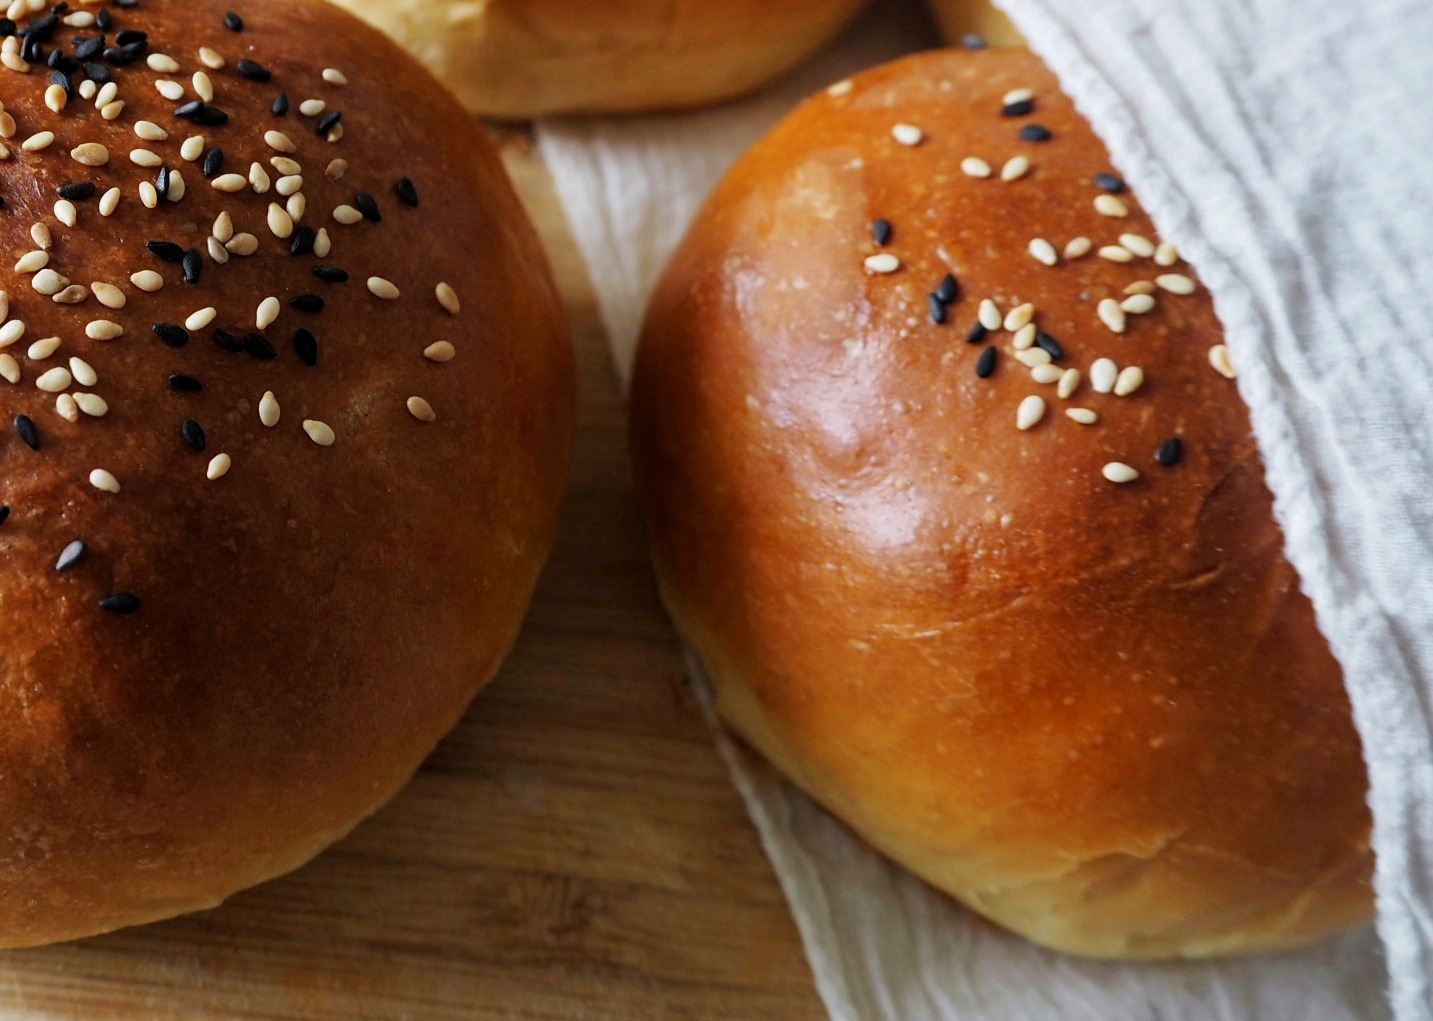
Nämä suolaiset pullat ovat upean pehmoisia ja täyteläisenmakuisia tarjottavia monenlaisissa juhlissa, koska ne ovat lihattomia, säilyvät huoneenlämmössä, ja ne voi tehdä tarvittaessa jo edellisenä päivänä ja säilyttää kannellisessa rasiassa.

Muutama huomio:
– Jauhoksi kannattaa valita vahva jauho, eli sellainen, mistä leipoisit normaalisti leipää.
– Kuivahiivan sijaan voi käyttää tuoretta hiivaa. Liuota se kädenlämpöiseen maitoon ennen sekoittamista jauhoihin.
– Kevätsipulia on monenlaista tarjolla kaupoissa. Ohuet sipulit voi käyttää kokonaan, paksummista kannattaa käyttää vihreät ja vaaleanvihreät osat ja säästää valkoinen pää muuhun ruuanlaittoon.
– Mison määrää voi säätää oman maun mukaan. Tavallisissa marketeissa on tarjolla yleensä juuri valkoista misoa, joka on vaaleanruskeaa väriltään. Etnisistä kaupoista saa sitten muitakin värejä, jotka toki myös sopivat tähän reseptiin tarvittaessa.
Kevätsipuli-Gruyère-kierteet
12 kierrettä
Taikina:
400 g vehnäjauhoja
1 pss kuivahiivaa
1 rkl sokeria
1 tl suolaa
2 dl maitoa
1 kananmuna
50 g voita huoneenlämpöisenä
Täytteeksi:
150–200 g maustamatonta tuorejuustoa
1 rkl valkoista misotahnaa
150 g gruyérejuustoa raastettuna
1 nippu kevätsipulia
mustapippuria myllystä
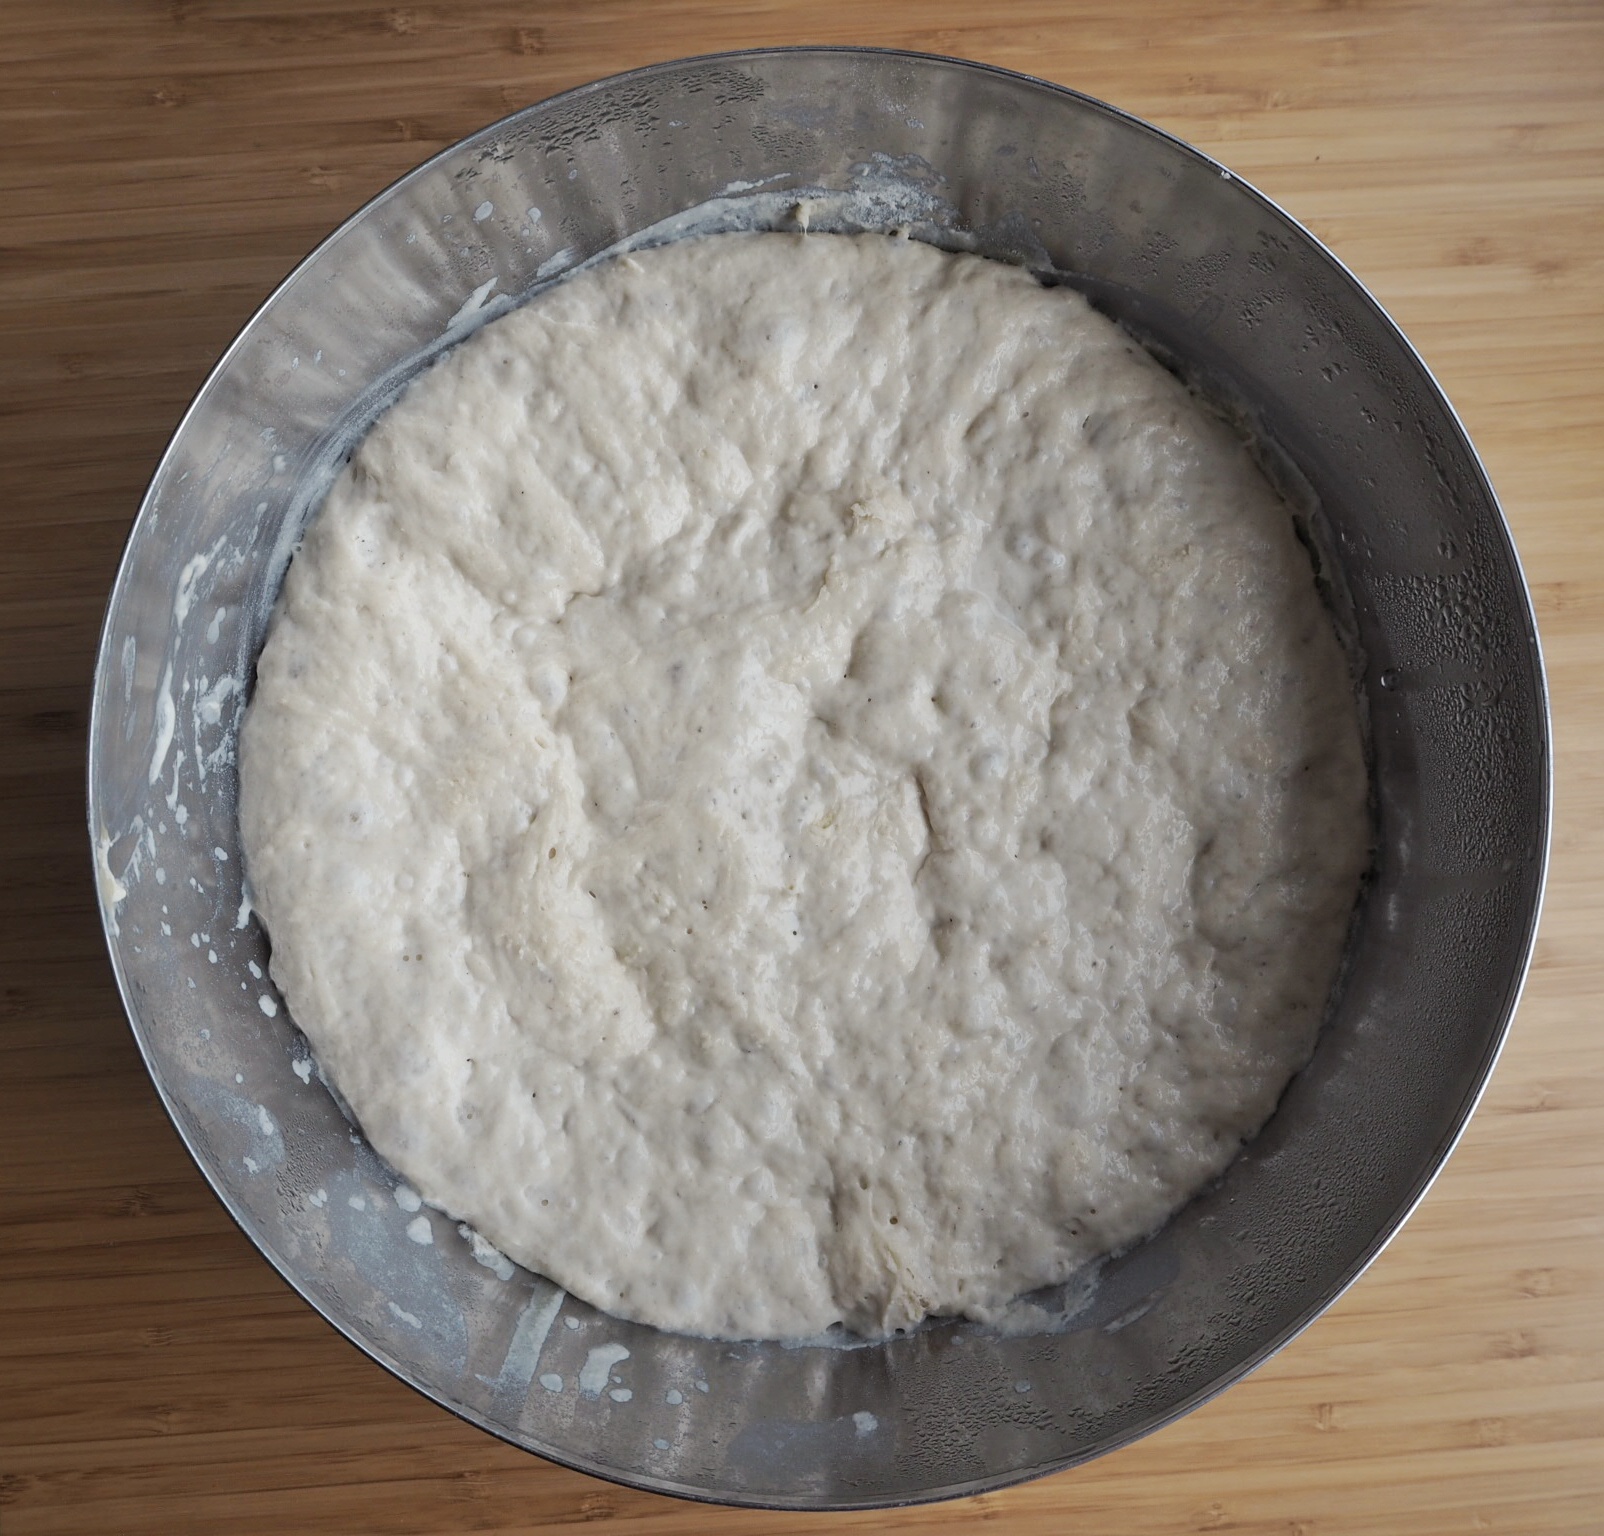
– Sekoita jauho, suola, sokeri ja kuivahiiva kulhossa. Lämmitä maito 40-asteiseksi ja kaada jauhojen joukkoon. Lisää joukkoon vatkattu kananmuna. Alusta taikinaa käsin tai yleiskoneella 6–8 minuuttia. Anna taikinan levätä 10 minuuttia, ja jatka sitten vaivaamista hetken aikaa. Lisää taikinan joukkoon pehmeä voi ja sekoita tasaiseksi. Peitä taikinakulho leivinliinalla ja jätä nousemaan vedottomaan paikkaan 1–2 tunniksi kunnes taikinan koko on tuplaantunut.
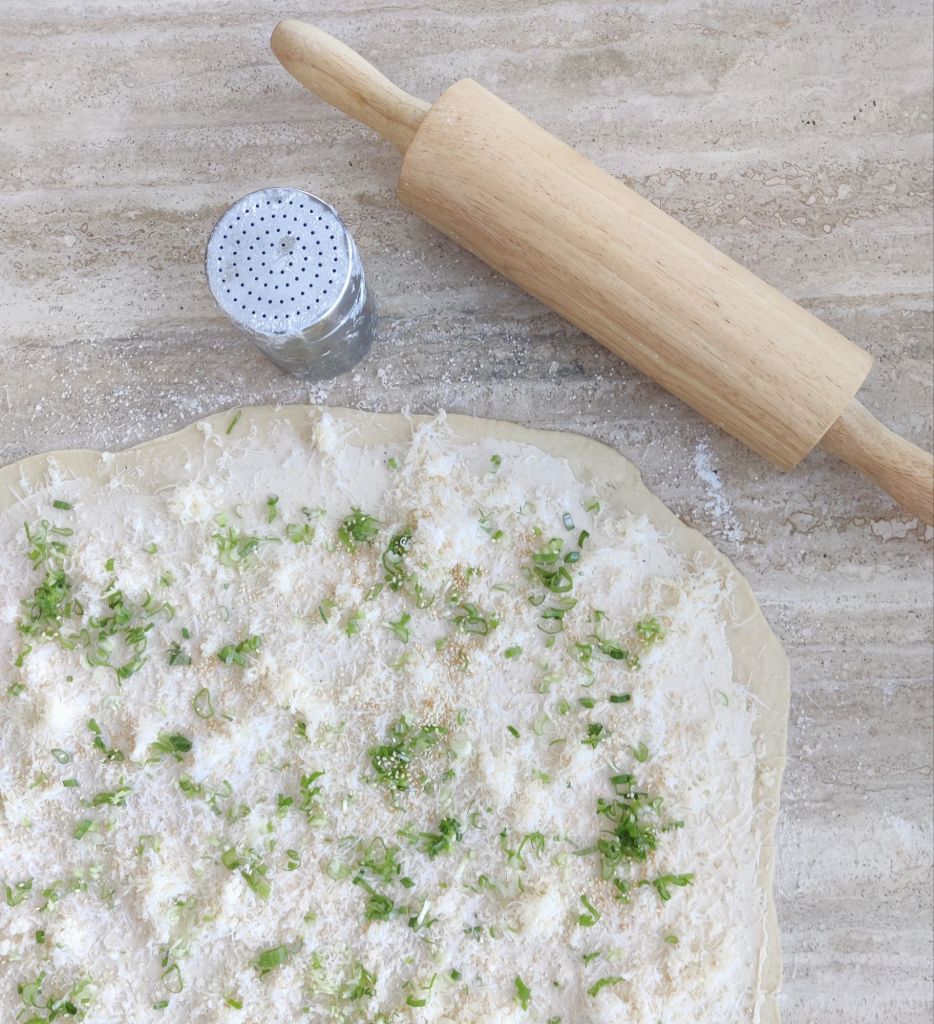
– Valmistele täytteet: sekoita tuorejuusto ja misotahna, raasta juusto ja hienonna kevätsipuli.
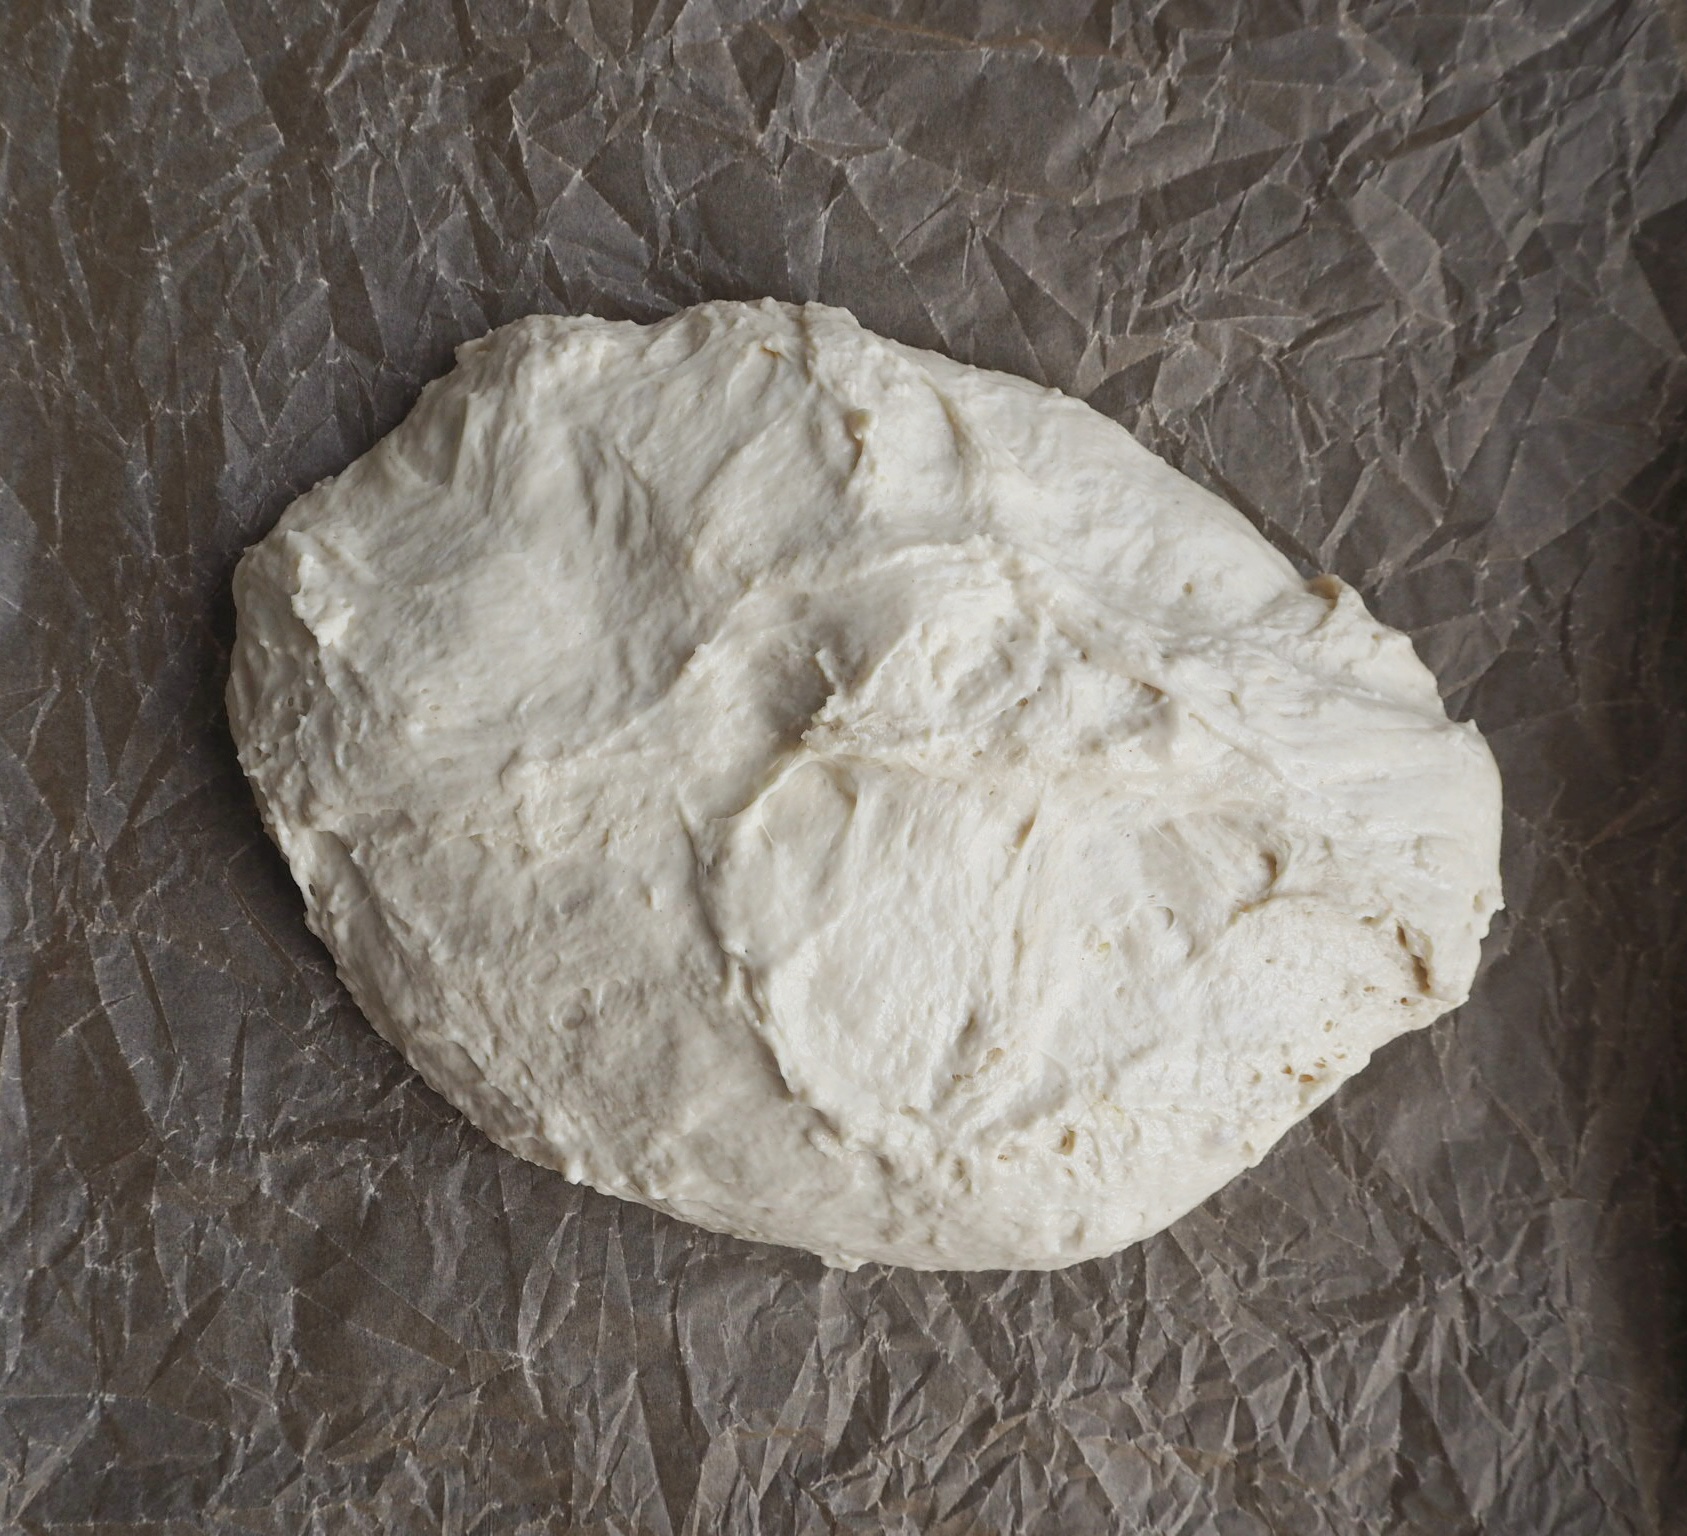
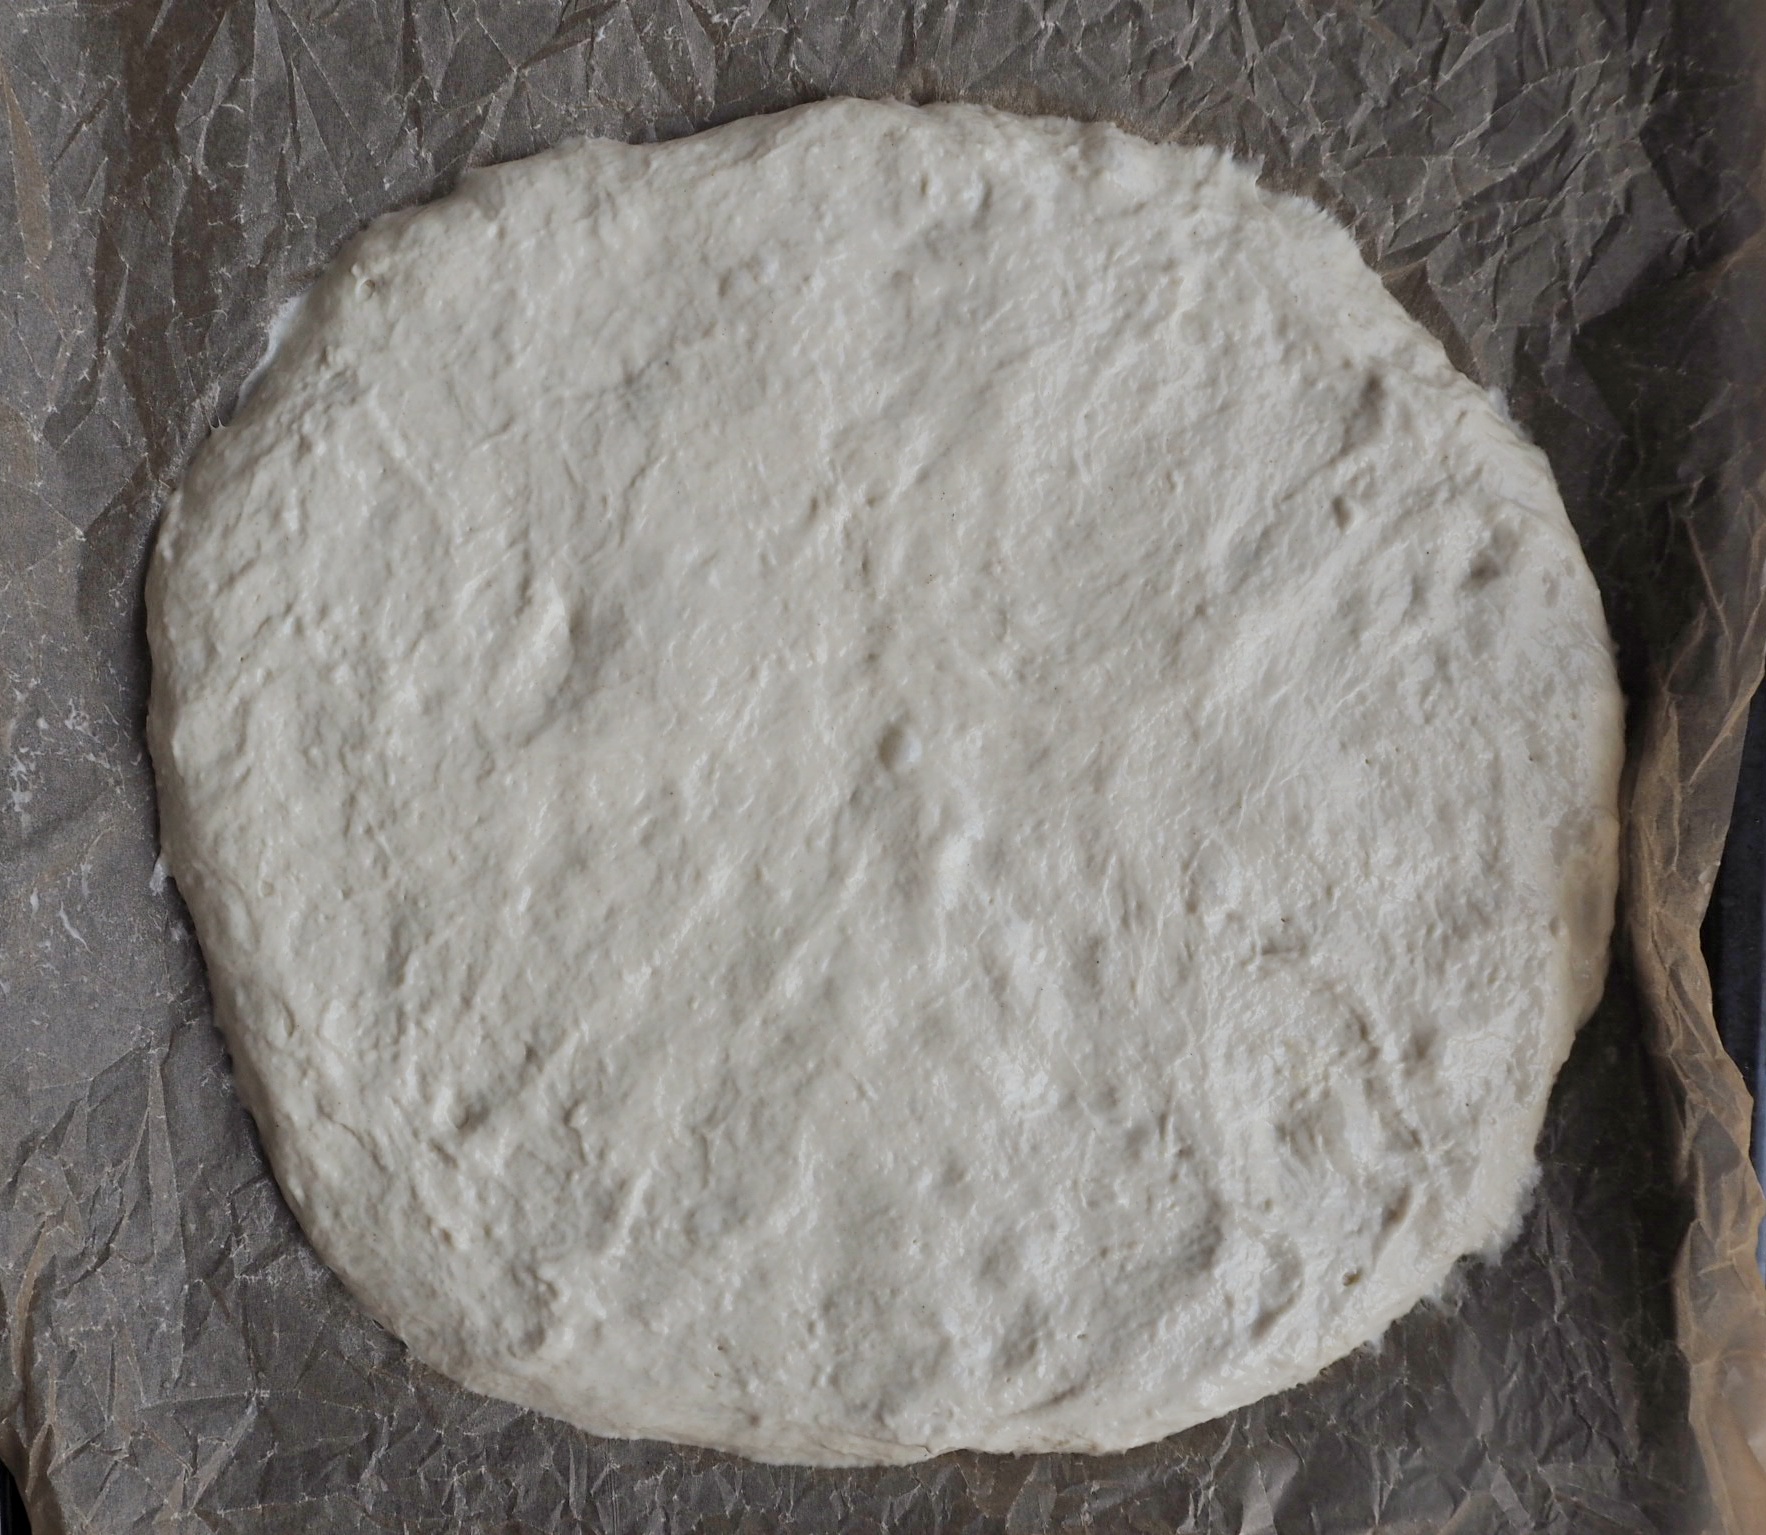
– Kumoa noussut taikina jauhotetulle työtasolle ja kaulitse noin 35 x 25 cm suorakaiteen muotoiseksi (kuten korvapuusteja tehdessä). Levitä taikinan päälle tasaisesti tuorejuusto, juustoraaste ja kevätsipuli. Rouhi päälle mustapippuria. Painele täytteitä hieman, jotta ne eivät liiku, kun rullaat taikinan.
– Rullaa pidemmän reunan mukaisesti taikina tiukalle rullalle. Leikkaa veitsellä tai taikinalastalla 12 yhtä suureen palaan. Asettele palat pystyyn (leikkauspinta ylöspäin) muffinssivuokaan tai paperisiin muffinssikuppeihin. Asettele kierteet uunipellille ja peitä leivinliinalla. Anna kierteiden nousta uudelleen lämpimässä paikassa 30–45 min.
– Lämmitä uuni 200-asteiseksi ja paista noin 20 min, kunnes kierteiden pinta on saanut kauniisti väriä. Jäähdytä liinan alla ja tarjoile lämpiminä tai viilentyneinä.

—
Hi there!
I’m back for a little something on here too in the form of a recipe. I’ve been asked several times for the recipe for these savory swirls when I’ve served them, so I thought I’d save the recipe here for everyone to read. The original recipe is by Benjamina Ebuehi, like most of my favorite recipes, but I’ve tweaked it slightly to fit the ingredients available in Finnish supermarkets. Originally, the recipe called for Marmite and Comté cheese, which you can’t quite find in every store here in the north, but Gruyére and miso paste should come pretty close to the intended flavor profile. By the way, Benji’s new book ’I’ll Bring Dessert’ is coming out this month, and I’m already looking forward to it!
These savory swirls are wonderfully soft and flavorful snacks for all sorts of parties because they are meat-free, keep well at room temperature, and can be made the day before and stored in a container with a lid.
A few notes:
- It’s best to choose strong flour, the kind you would normally use for bread.
- Instead of dry yeast, you can use fresh yeast. Dissolve it in lukewarm milk before mixing it into the flour.
- There are various types of spring onions available in stores. You can use the thin ones whole, or if using the thicker ones, use the green and light green parts and save the white bulb for other cooking.
- You can adjust the amount of miso according to your taste. Typically, regular supermarkets offer white miso, which is light brown in color. Asian shops may offer other colors, which can also work for this recipe if needed.
Spring onion & Gruyère twists
12 twists
Dough:
400 g wheat flour
1 bag dried yeast (10g)
1 tbsp sugar
1 tsp salt
2 dl milk
1 egg
50g butter, room temperature
Filling:
200 g cream cheese
1 tbsp white miso
150 g gruyere cheese, grated
1 bunch of spring onions
black pepper
– Mix flour, salt, sugar, and dry yeast together in a bowl. Warm the milk to 40 degrees Celsius and mix it into the flour. Add in the beaten egg. Knead the dough by hand or with a stand mixer for 6-8 minutes. Let the dough rest for 10 minutes, then continue kneading for a while. Mix in the softened butter until smooth. Cover the dough bowl with a kitchen towel and let it rise in a draft-free place for 1-2 hours until doubled in size.
– Prepare the fillings: mix cream cheese and miso paste, grate the cheese, and finely chop spring onions.
– Turn out the risen dough onto a floured work surface and roll it out into a rectangle of about 35 x 25 cm (like when making cinnamon rolls). Spread the cream cheese, grated cheese, and spring onions evenly over the dough. Sprinkle with cracked black pepper. Press down on the fillings so they won’t move when rolling the dough.
– Roll the dough tightly into a log starting from the longer edge. Use a knife or dough scraper to cut it into 12 equal pieces. Place the pieces upright (cut side up) in a muffin tin or paper muffin cups. Arrange the twists on a baking sheet and cover with a kitchen towel. Let the swirls rise again in a warm place for 30-45 minutes.
– Preheat the oven to 200 degrees Celsius and bake for about 20 minutes until the swirls are golden brown. Cool under a cloth and serve warm or at room temperature.